


Guys, finally, after a long time struggling and wrestling, its finally nearing the finish line.

My 6th uncle got divorced sometime back. He torn up all of the wedding photos taken some 30 years ago and wanted to throw away his picture frames. I stopped him and took home this antique. Reinforce the back and level it with 1 complete box of Tamiya Epoxy Putty. Cut a piece of 1mm Tamiya PS card, scored in the cracks and panel lines used for cement casting. Then I spray using black, olive drab, light grey and Gunze Surfacer 500 out of the aerosol can to get this cement looking thing. Dabbed in the oil leak stains and washed in the cracks and crannies and its done, all 4 hours of work.

Test fitting it is quite okay, I wanted only to hold the undercarriage and allow the model to over hang everything. Looks like a trophy, But truth be told, I have got no other choices, have I? With that out of the way with the exception of a few kinks from knocks, I reckon, its okay looking to pass off as not an after thought, even though it significantly is.

I armed the dog with the only tanks and AIM9Bs, the missile were badly made and fins break off all over the place. Couldn't find any spares this old in history, only 9Ls and the new X series. But to fork out good money to buy a Trumpy weapons kit is out of the question for me. Make do man. As the kit is not for sale anyway. As you can see, I did not weather the bottom very much as its glued to the base for Airfix show.

I worked on the oils using mainly black, green, white and yellow to do some shading and panel differentiation. Just to spruce up the model a bit, since its such a big piece of work, leaving it plain Jane is quite a shame.

Just to make things a little more interesting. The surface was like this due to airbrushing and Tamiya black wash.

These are my starting pictures before I whacked on the oil paints from Winsor and Newton who has been with me for more than 15 years.
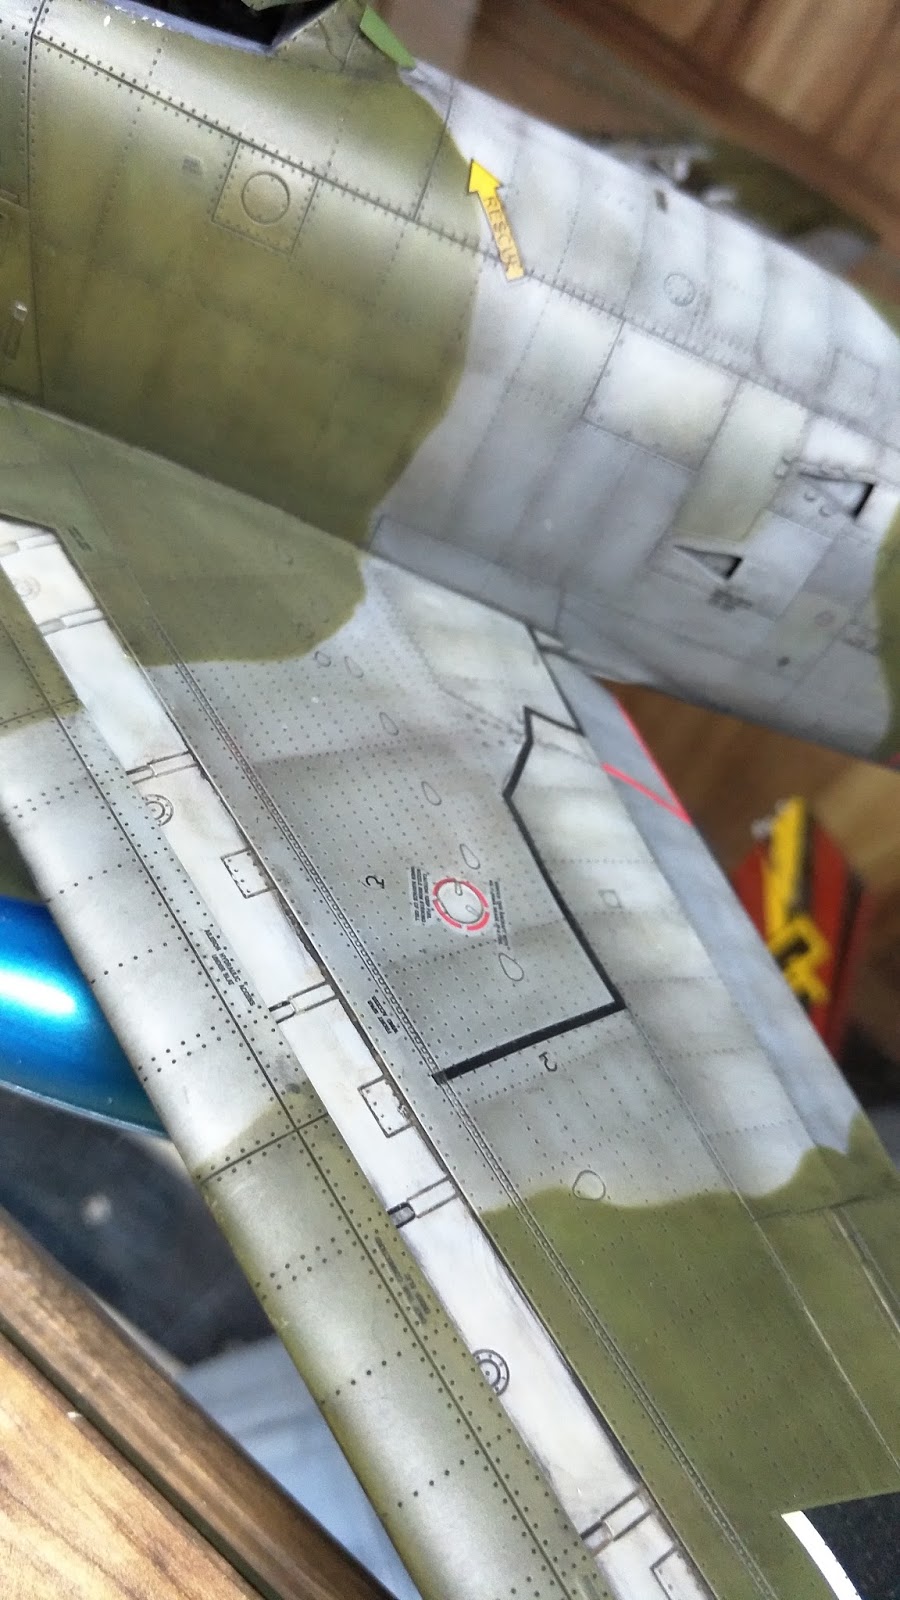
After Sienna, Black, White, Yellow and Sage Green, the wings and fuselage looks like this. Tonal variations that I kind of like.

Some tinkering with the upper surfaces. The mirror was too bright on the photo taken with my trusty Oppo R9 Plus phone. So, I darkened it subsequently.

Overall, the model looks okay to me, for the other people who worked in the aircraft factory, this looks crap, well, crap is, crap does. Its better to look crappy than to be mistaken for a die cast fake right? At least crap cannot be replicated, unlike die cast look alike factory standard model. I wonder why, at this age of artisan sharing freely, still there are people not willing to improve on painting skills and spend money to make die cast look alike fakes! I don't get it.

This is the last bit of work and I am done. I liked to have the vertical surfaces slightly darker than the horizontal ones as the reflected light intensities are different. I am quite please with how this tough build turned out to be.