The landing lights I used 2 Rhinestones to glue in place and the background was painted black to bring out the contrast, I liked it's high reflectivity, making it glitter! Wow factor, so this is one of those things that contributes to it.
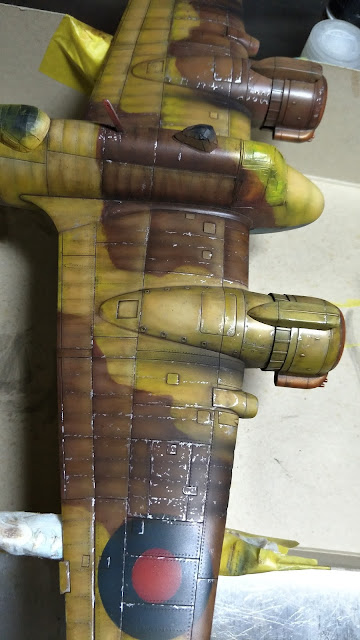
I used my trusty Kolinsky Sable brush and dotted in the chips with Vallejo Air Chrome Silver. Concentrated on the gun magazines and human traffic areas. Care is taken not to overdo it and be carried away with excitement. LESS IS MORE. Once overdone, the model is cooked. This is a self reminder that is repeatedly rehearse within myself.
I used sienna oils diluted with Tamiya Enamel Thinners to glaze individual panels within the boundaries. Giving the model a little variations to hues. This was suggested to me by famous Taiwanese Model Maker Fan Cheng Bin. Effect disrupts the homogeneity giving the model a nice desert worn look.
I gave the model localized soot spray with the airbrush, exhaust fumes, gun blast carbon build ups, paint chips were also concentrated on the exit points of the barrels.
Undercarriage was weathered and glued in place. Some Raw Umber and black inks did a wonderful job of bringing out the details quite nicely.\
This photo reveals the glossiness of the joint lines on the clear parts. Which later, I used some washes to matte them out, so that it blends with the texture of surrounding areas.
The nose job required some streaking to make it blend with the rest of the aircraft, so, I used some Raw Umber to streak that area.
The tail sections was taken care of and care is taken not to overcrowd the open areas and leave somewhat some variations of the tones to make it look exciting. Focus is done to make sure the horizontal panels are receiving a lighter tone in the finished model than the vertical panels.
Finally, the tapes were removed to check on the transparent parts, since almost all spray painting is already done.


