
The bodywork upper surfaces were post shaded with a layer of Tamiya diluted paint mix now with 1 part XF18 with 7 parts of white t highlight the upper surfaces to further accentuate the fading process.

The sides of the fuselage has the upper surfaces highlighted 30% more than the sides.

Instead of using the decal with the film showing in a few months time, the panel walkway "No Step" zone markers were masked and sprayed on.

The walkway was highlighted with dark grey before the masking is removed.
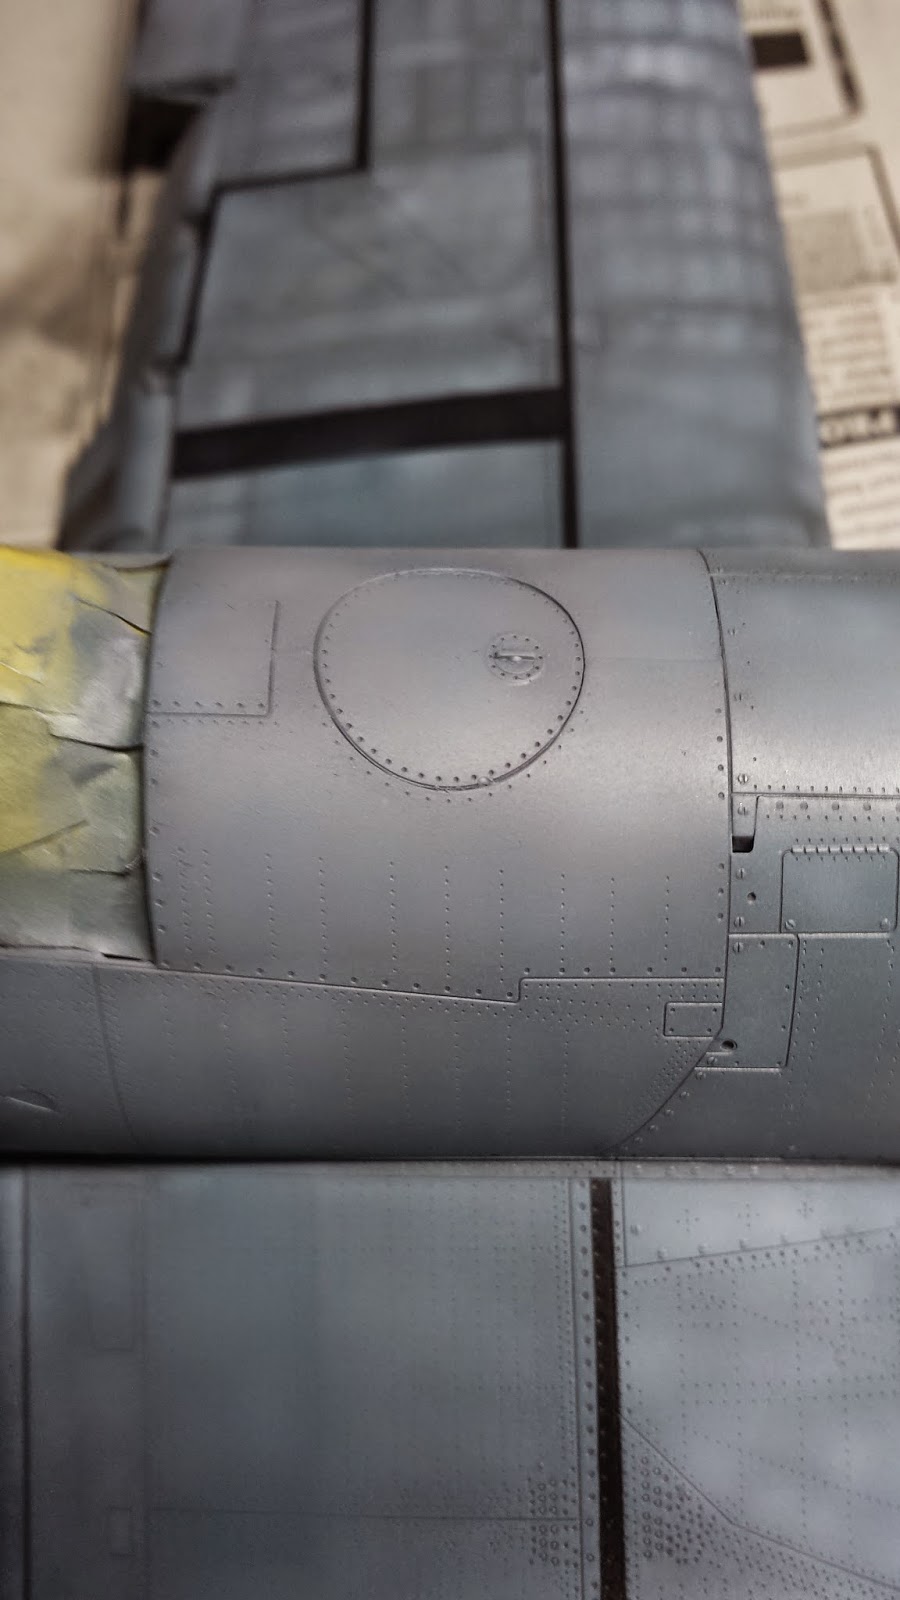
The decolouration of the fuel cell area due to spillage and evaporation of fuel.To simulate this, I use a very thin water based pinkish grey to glaze over it. 1 part paint to 20 parts water. After 2 coats, the model is ready to have its future sealed!

Now the model is ready to have the masking removed and the edges polished with a cotton tee shirt to rid it of extra blue tack and thin paint that is smudged.

The decals are added, softened with Mr. Colour Decal Softener. Once dried, the whole model is give a layer of Tamiya black wash.

The wash showing up with small patches of multiple coloured oil paints and streaked downwards to simulate the oil spillage and drying while stationary. Not the fuel cell being a different tone of grey from the rest of the aircraft and in the background, you can see the upper surfaces being brighter than the sides. Colour modulated.

The wheel wells being washed. Then they were cleaned up with white spirit to show detail accentuations. The whole under surface is toned and then washed and brushed out to clean it up.

The undersides at the tail section being washed.
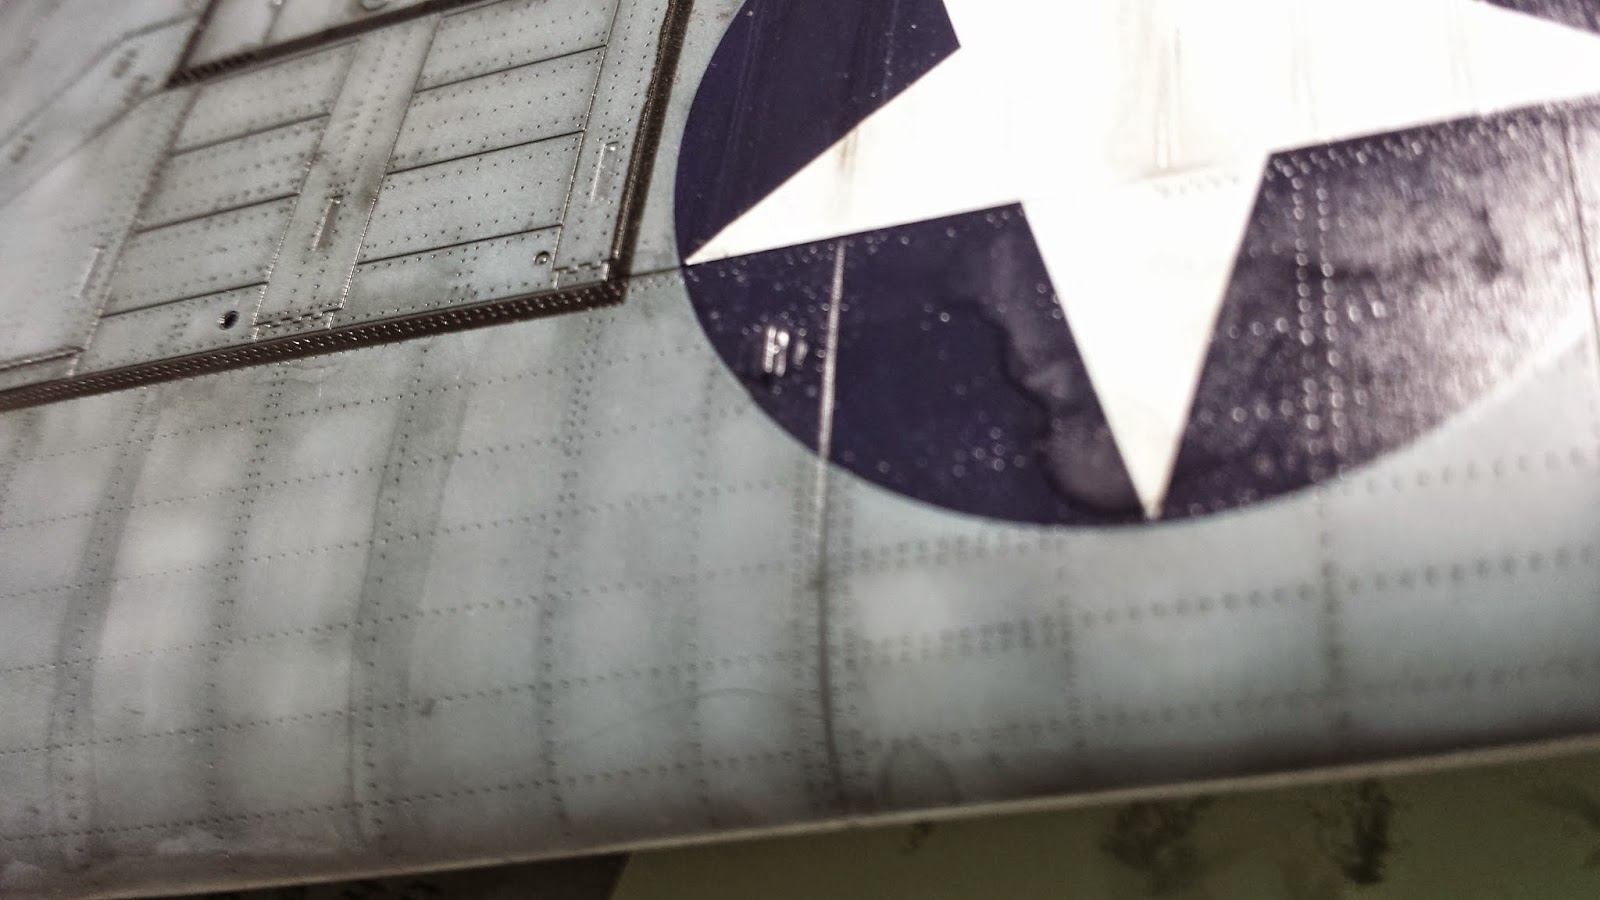
Now the decals are to be protected with Vallejo matte varnish and the wash is done over it after setting it aside for 2 days. Small amounts of lighter version of Navy Blue is used to glaze in the variation in tones for the decal on the upper surfaces.

The decals after washing and glazing. Thereafter, white spirit is used to brush the wash backwards and towards the rivet lines to exaggerate the tonal differences from the rest of the top surface, a new form of post shading experiment chanced upon for the first time by me using a number 3 soft Ashley brush.
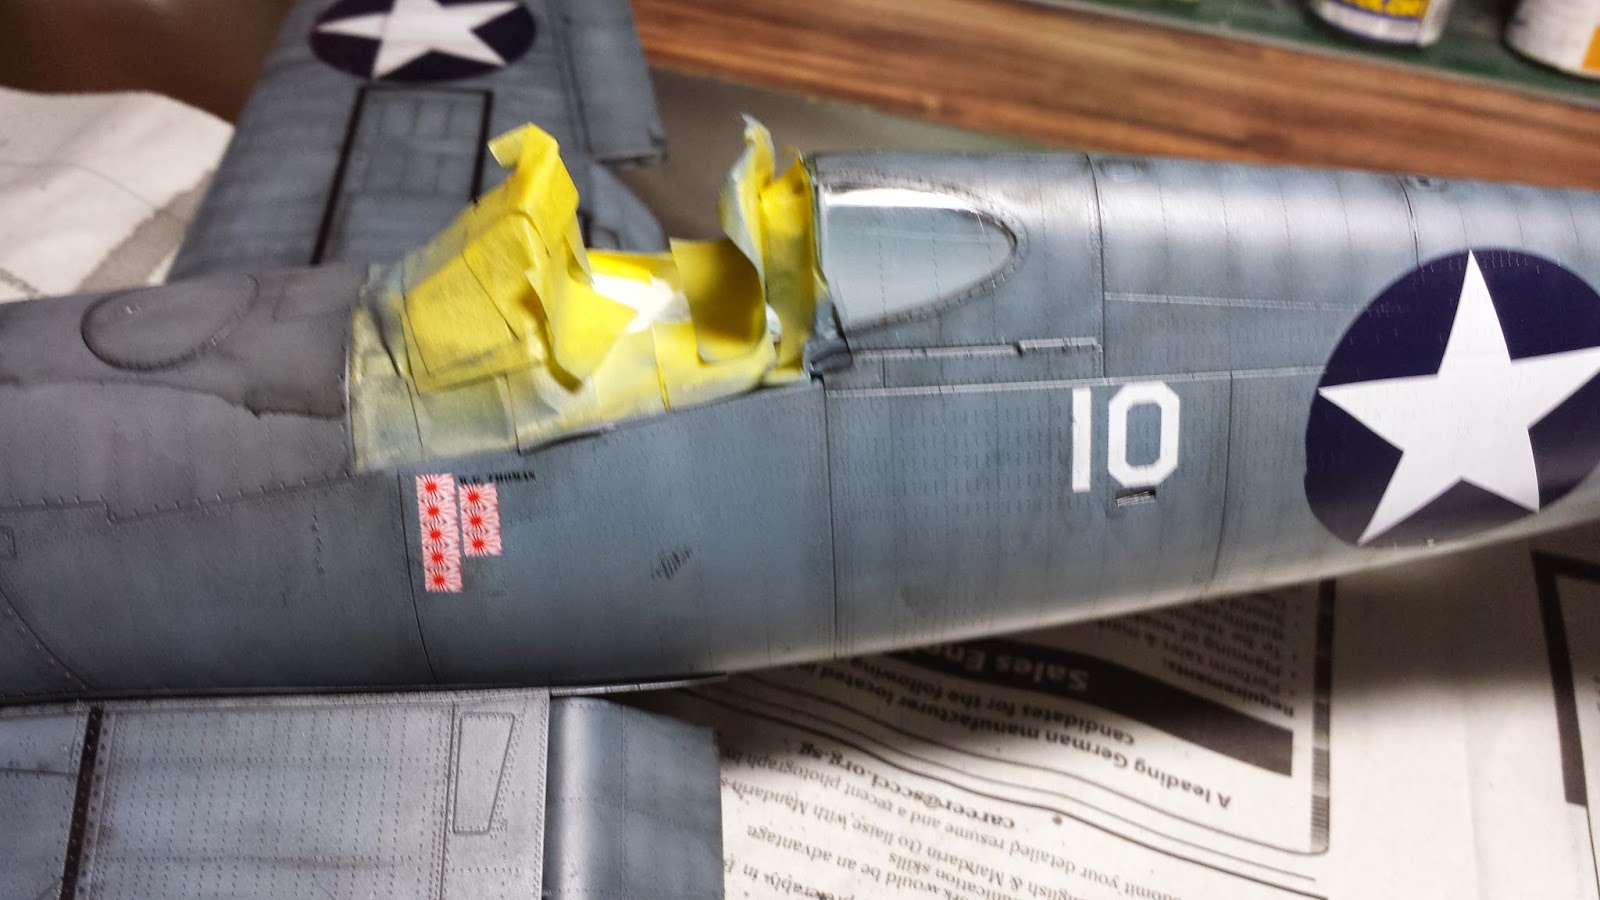
The rest of the decals are ready to get onto the model. While the surface is still FUTURED! From this view, you can see the fuel cell in front of the cockpit being a different colour.

The fun part begins. The surfaces chipping. I brushed on soapy water and leave it to soak in for 30 minutes. 3 coats needed. After 30 minutes, I wet the surfaces that I want to work on and then using a small needle tip, I make small scratches and then using a stiff flat tipped brush, I dabble the surfaces till the desired chips are achieved. Concentrating on the whole nine yards areas. Meaning, the 50 calibre magazines. Making sure the chips are slightly bigger as I wanted to add in intermediate chips of zinc chromate green at some of the chip edges.

The zinc chromate green added. The edges of the folding wing has white glaze added to accentuate the joint.

Left side done now the right side begins.

The model is now sprayed over with Matte Varnish. The undercarriage is ready for weathering.


FINAL FINISHED PRODUCT! Very proud of it. now tis ready for the antennae. And Wallah.