Monday, December 31, 2012

Merkava III Part 2

Taking a break from the Korean War USMC Chosin Reservoir, turning my attention back to Merkava III and IIID project.

The biggest challenge about Merkavas are the anti slip type of material. I found it very effective to hand paint the new diorama pastes from Vallejo.


The errors can be washed and corrected and the material is quite easy to control. Just take a little with the tip of the brush, and dab on gently.

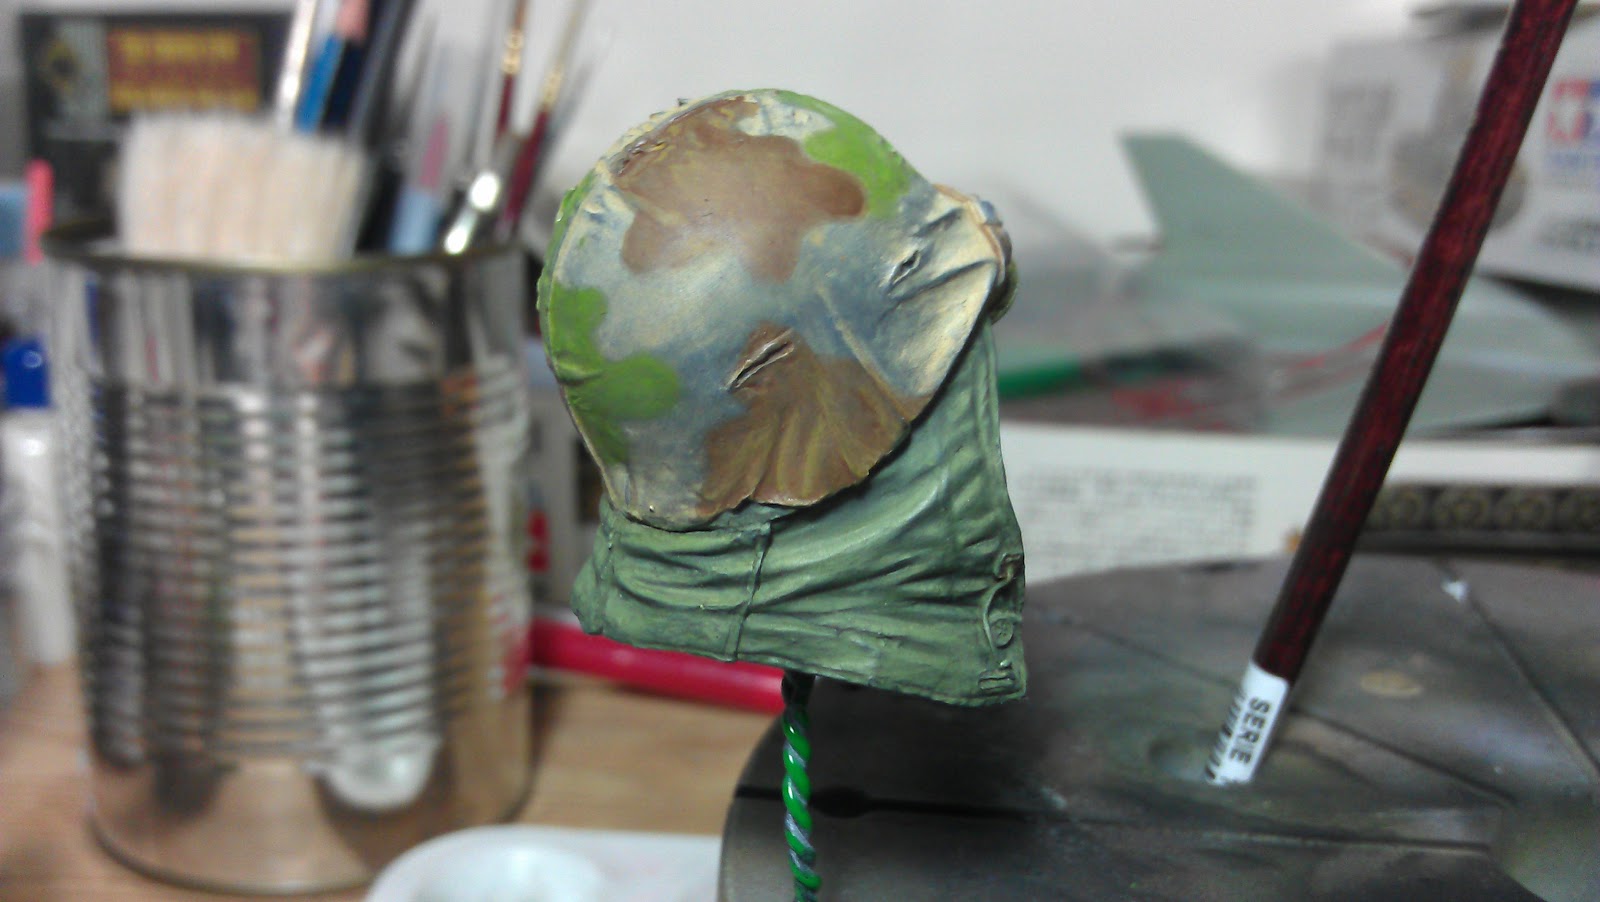
The rear basket is covered with Epoxy Putty, so are the rear and side signal flags. Manlet cover is a little gappy, so, liquid cement and Tamiya Putty mix is used and melted with blending strokes and massaged into the gaps.

Once the primer has set, The model has its lines preshaded with Vallejo Black with Matt Varnish added with Dilutant. Then the whole mode is over sprayed with Panzer Dark Mud to give it the greenish Khaki Colour. The upper surfaces are shaded with a highlight with Iraqi Sand added into the Dark Mud to get the light tones. this is dusted over small areas over the top and near top surfaces to modulate the tones of exposure to light.

Another view of the whole tank that has the final highlight dusted in broader areas. There are quite a few damaged parts due to melting in my Academy kit, so, I had to kit bash 2 sets to get this one model going. However, the wheel trailing arms of both sides of the tank are different. Once set is clearly molded without the slot link between the spring and the cantilever.

Cantilvers with slots.

Cantilevers with missing slots on the whole of the other side of the tank.

But since its will not be obvious after the side skirts are added, I let the sleeping dogs lie low for now. But I do have an issue with melted parts on several trees. Its like a disgruntled worker sabotaging trees with a hot soldering iron.

The whole tank is glazed over with Panzer Grey to unify the harsh contrast. Unlike the usual enamel based variety, I want this model to be all based on Vallejo Acrylics. So, we have 20% Panzer Grey, 20% Acrylic resin, 60% water with a drop of Matt Medium. This is dotted onto the surface and then glazed over with a No 4 Brush wet with distilled water. Then I just watch the colour spread all over the pace and collecting on the recesses. Care is taken not to force ventilate the model. Allowing the pigments to settle down and dry slowly over 2 hours. Making sure the wet surface is always on the horizontal position.

Teh whole tank then recieved a Burnt Umber and Black wash to accentuate the details on the complex surface designs as well as the anti slip material that we painted on earlier.


The surface is then highlighted with Buff on the pins and points with a zero brush. The anti slip is dry brushed with a mix of Panzer Dark Mud added with Iraqi Sand, leaving the most highlighted ones being the reverts and pins. The Canvas cover is also painted and darkened with shadows on the folds.


The handles are all painted red in colour and the VHF Whip plus the UHF antennae are all painted white. The Mantlet area recieved its shadows and highlights.

Break for now. Chow. New Year counting down soon!


Sunday, December 16, 2012

USMC Korean War 1950 part III

Altered the right cheek to balance with the left. Only little bit of Burnt Cadmium Red to increase the contrast in the forward area would suffice for the completion of the face.

The right cheek corrected with some Burnt Cadmium and Salmon Rose so that the tones are gradualised. Happy with that, and attached the hood and helmet assembly. The fit is a little tight and tricky, some of the internal hood areas were damaged and needed to be repainted.

The hood repaired and needed the black lines to be lined in. The helmet has its camouflage patterns are now blocked in. The sand needed to be coated another 3 to four times before toning of shadows are set into place. The colours are little glossy at the moment, nothing that cannot be solved with dilute Matt Varnish.

The brown portions are started to be highlighted. Once this is done, shadows will be added and then same goes to the green, followed by coating the remaining areas with sand and shadows to complete the helmet. Thereafter, we can start work on detailing the holes and straps, buckles, eyelets and laces.


Friday, December 14, 2012

USMC Korean War 1950 Part 2

Took a week off to do work so that we can finish all the projects and hand them over by Christmas Eve.

The eyes are blocked in and top lash is painted and outlined with black. Beard is blocked in with pure black with some Matt Varnish added into, as well as the eyebrows.

The beard and eyebrows are stroked with dark grey and then off white to give the mane some body look.


The bottom eyeball areas are lined with Vermillion. Pupils have the blue highlighted and the iris are scaled down to portray high light conditions as sunlight reflecting from snow capped landscape during that year. Lips are painted violet red and highlighted on the lower lip edges with Sunny Skintone mixed with Basic Skintone. The helmet is sand coloured toned with highlights. The uniform is shaded with shadows of 10% black.

The hood on the helmet is shadowed with black green to get it ready for highlighting with Yellow Ocher mixed into German Luftwaffe Camouflage Green. The sand on the helmet has the shadows added with 10% black glazes. The right side of the face is reshaded with Black Brown and Burnt Cadmium as well as Basic Skintone as well as in between blend of the two colours. This is to remove the long line edged into the original resin to make the both sides of the face balanced in tonal and weight-age balance. The lower cheeks are highlighted with Basic Skintone to give it a 3D effect. The side edges of the cap extensions that doubles as ear mufflers are edged with black and Black Green. The adjacent areas of the side cheeks are toned with Flat Brown and Burnt Cadmium.

Wednesday, December 5, 2012

USMC Korean War 1950

Cannot resist Young Bock Song's model sitting at the M Workshop. So, I have to put the Merkava IIID aside and get the priority started on this king of the hill in sculpture first. The model is superbly sculpted planned with over hoods and peak cap under a WWII Pacific Theatre Duck Egg camouflaged steel pot.


Greatly inspired, I washed the resin to remove any trace of silicone barrier solution with a little dishwasher and a soft toothbrush. Blown dry with air compressor and set aside for a few hours over Saturday morning. Then a coat of Mr. Resin spray can is dusted over the whole parts after the stubs are removed and sanded. Holes are drilled to insert the twisted steel wires to prep them for painting.
 The top 12 o'clock is sprayed over with flat white to accentuate the shadows to allow me easier planning of my shading and painting.
 The face is first coated with basic skin tone for 3 thin glazes. This will allow the dark shades to still show up to allow our glazes of darker shadows later.

 Flat Brown and Burnt Cadmium is used to block the darker shadows and whole face is thinly glazed over with Vermillion to unify the tones.

Beige Red is use as mid tones and a mixture of 50:50 is used to paint the intermediate areas to gradualize the transitions. Six tones and we have from Burnt Cadmium being the darkest and Basic Skin Tone to be the lightest is seen in this picture. I also painted in white in the area where the eyes will sit to later pick out the shape once the iris is done.

More highlights are added with red tones to depict the winter conditions of the 1950 Korean War.

The skin tones are further highlighted to prevent an overpowering contrast. To transition the face further to get a gradual tone.

The bust body is dusted over with a 30:70 mix of Mr. Colour 135 and 127 to build up the intermediate tones for the Khaki toned uniform of WWII USMC uniform winter garb.

The most dangerous manoeuvre is at hand. I put in the blacks in the eyeballs to form the base. Then cover 90% of the area of black with Dark Prussian Blue mixed with 80% white to form the pupil. For the iris, Dark Prussian Blue is used. The bottom edge of the top eyelid is lined with black and the bottom lid is painted over with basic skin tone to roughly edge out the outline of the eyes. Once this is set, I plan to outline the bottom lid and inner edge of the eyes with Vermilion to position the tear ducts and lower lids. Next, the brows and beard is outlined and painted. The head is now set aside to dry and cure. Enough for 3 days of work. 2 hours each.


Saturday, December 1, 2012

Merkava IIID Late Model part One

I have 7 Merkava kits in the store room and its getting congested. From the early Tamiya version 1 to the latest Academy Version 4 or the Meng Models III Dalet Early model.

I also wanted to make a corresponding original base model of the Merkava III from Academy to provide the contrasts of the upgrade.

I decided to kit base 2 Academy III early model with Legend IIID resin conversion kit, however, without instruction sheet. I bought the kit 4 years ago, and it was supplied without instructions! I only found out last week!

Due to the age, the kit has shrunk significantly! The hull top is now 6mm shorter than the hull bottom!


The gap is fulled up with Tamiya 5mm card and filled up with Tamiya Epoxy Putty and normal cellulose putty.

The back portion is aligned and patched. There is a stub at the bottom lines in the top hull that required me to cut some portions of the bottom hull to align and marry the parts together.


 The exhaust part needed some work on the resin part to fit. No a major thing to contend with. However, the front portion is a major challenge.

The front fenders needed extensions to match the shortened hull. I used the 3mm foam from Tamiya and then file them to shape and filled up the gaps.

For the original Version III turret, I wanted to put on the tarp covers which is common amongst IDF tanks to protect from the dusts. Also, we wanted to depict the 3 weighted flags showing tank number. These are all made with Tamiya Epoxy Putty.

Till next time, Cheers.